Have you ever watched your favorite eyeshadow or blush falling in slo-mo and shattering into a million pieces? If you wear makeup, this has probably happened to you at least once. And we feel your pain... Throwing broken makeup is definitely not an option...
because those eyeshadows don’t come cheap and you can’t toss up every makeup you ruin! There are a number of other reasons why you would not want to throw ‘em away – they may be your favorite palette, may be limited edition or may have some sentiment attached to it.
If you’re a makeup hoarder like us, you would know about a few makeup hacks on how to fix your broken makeup – unless you’re so rich that you buy a new one the next second it happens... If you’re still sulking over that broken bullet of lipstick, this step-by-step tutorial may come as a saving grace!
1. Any broken powder makeup

If your eyeshadow palette is more drier & cracked than the Sahara Desert, follow these steps that require nothing but ingredients available at your home and your makeup will be as good as new!
What you'll need:
- Broken eyeshadow/compact/blusher
- Rubbing alcohol/hand sanitizer
- Butter knife/toothpick
- Paper towel/cling film
- A container (optional)
Method:
- Collect all the broken pieces and put them back in the pot or another container (if your pot is too small)
- Break all the pieces into a fine powder using a knife or toothpick
- Put a few drops of rubbing alcohol or hand sanitizer (fragrant is better)
- Mix it together to form a paste
- Tap it on a plain surface to get rid of any air bubble
- When it’s settled, cover it up with paper towel or cling film and then press using your fingers or the back of a spoon and try to smooth it down
- Let it dry overnight
2. Melted & broken lipstick
So one fine day you took the bullet to your lips and BAM – on the floor, not before ruining everything that came in its way! Your favorite lipstick stayed that way until you got the courage to finally pick it up. We’ll tell you how you can put it back together... Before you start fixing your lipstick, make sure that you have clean hands.
What you'll need:
- Broken lipstick
- 2 zip lock bags
- Lighter
- Plastic gloves (optional)
- Shea butter/cocoa butter
- A microwaveable bowl
Method 1:
- Put both parts of lipsticks in two separate zip lock bags and put them in the freezer for 10 minutes
- Heat broken ends of the both parts
- Check the pattern, you would want to fix it up like a jigsaw puzzle
- Hold them together for some time and then freeze for another 15-20 mins
Method 2 (for making tinted lip balm):
- Scoop out all of the remaining lipstick using a cuticle pusher or anything that you have on hand in a microwaveable bowl
- Add about twice the amount of shea or cocoa butter as the lipstick (it should be about 1 tbsp)
- Microwave for about 10-15 seconds
- Take it out and make sure there is no lump in the mixture
- Let it cool & thicken a bit – it should still be pourable
- Then pour it in a container
- Pop it in refrigerator for a good couple of hours and let it solidify
- And voila, your new tinted lip balm is ready!
3. Dried up mascara
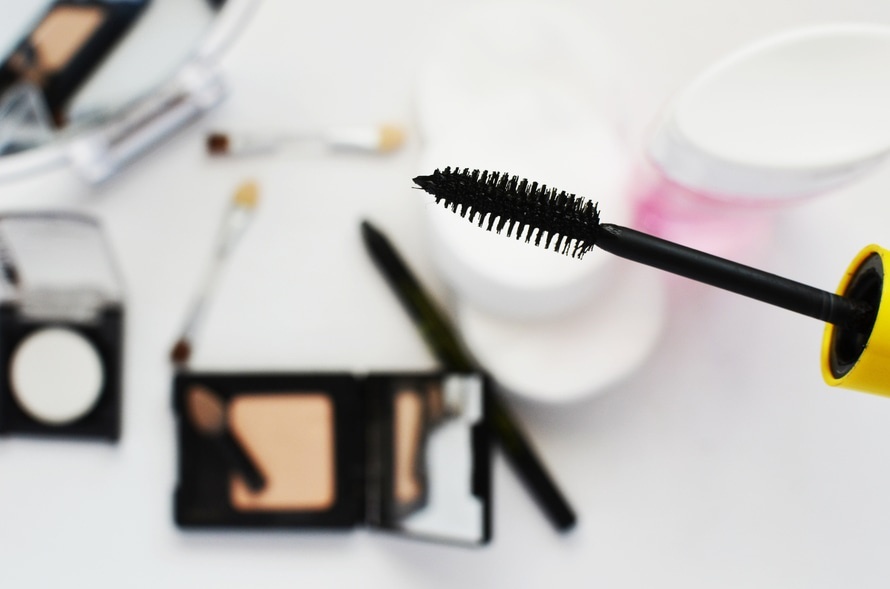
Your mascara dries up even before you know it! Sometimes you forget to buy a new one or sometimes you don’t get the one you so love – you can’t be wearing clumpy mascara that will make you look like a raccoon at the end of the day.
What you'll need:
- Old mascara (one that has not expired!)
- Eye drops
- How water in a bowl
Method 1:
- Remove the mascara wand and put a few drops of eye drops
- Cap the mascara and roll it between your palms (avoid pumping the wand in & out)
Method 2:
- Place the mascara in a bowl containing hot water
- Let it sit for 10-15 minutes
- Take it out and roll between your palms – you’ll have clump-free mascara!
4. Dried up gel liner

We all love gel liners, they give us the perfect cat eye without much effort, but there’s one problem – they dry up way too quickly! You may not even have used it over two weeks, and it just goes off like that... Here’s what we do to revive our gel liners:
What you'll need:
- Dried gel eyeliner
- Eye drops
- Any brush for mixing
- Spatula or knife
Method:
- Using a spatula (you may want to sanitize it) break up the product
- Add 3 drops of eye drops to the gel liner pot
- Mix well using a brush to get a creamy consistency
- If you think it’s still stiff, slowly add a drop of eye drops and then mix thoroughly
- Flatten the surface using a flat cap or a coin
- Let it sit for 5-6 minutes before putting the cap back on
5. Take out any liquid makeup from its tube
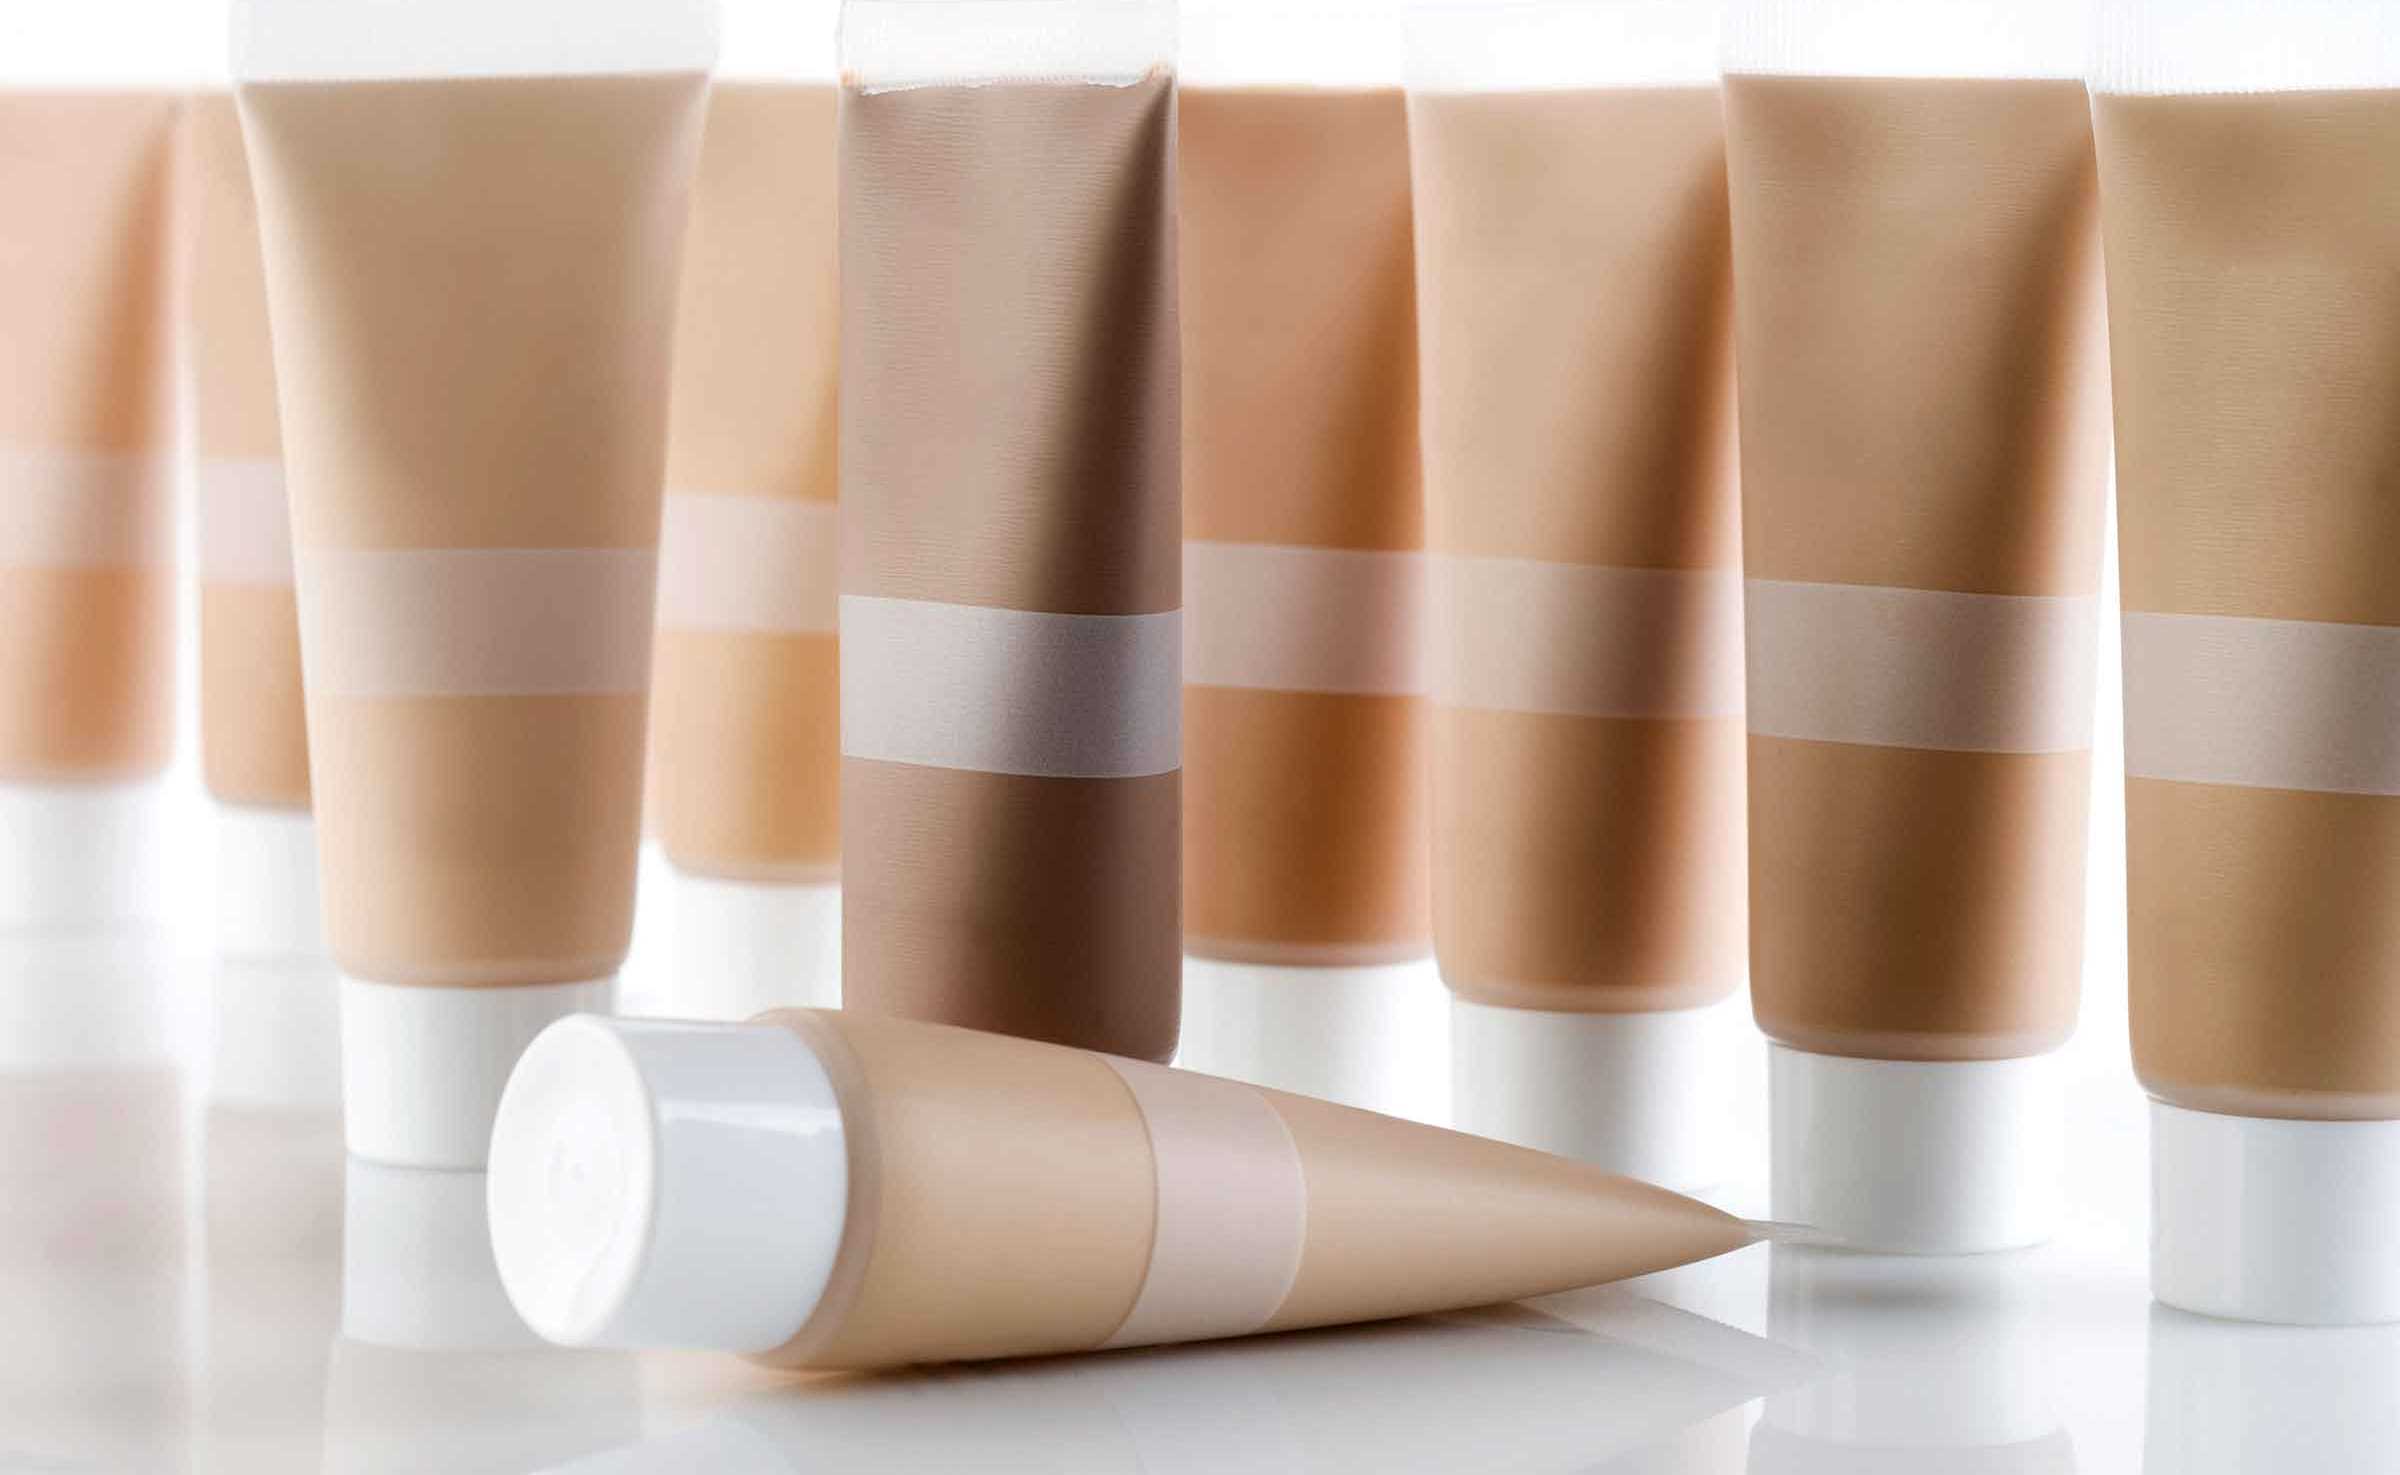
Squeeze the last bit of makeup out of a tube using a toothpaste wringer. If you don't have a toothpaste wringer, we have an easy trick: cut the tube in half! This way you can get to hard to reach areas and nooks & crannies of the tube. Scrape it all out and store in a shallow container or use it at one go if you could!
Watch this video for a quick recap and do subscribe to our YouTube channel here:
So these are some of the DIY tips that we use to revive our old and broken makeup... What are the strategies you use to save money on makeup? Do tell us in the comments below:
